"Solving the Puzzle" is the forty-seventh chapter in Heavy Rain.
Overview
In this chapter, Norman Jayden is told he's off the case. Furious with Blake's incompetence and Perry's disinterest, Jayden makes one last attempt to discover the identity of the Origami Killer by examining all available evidence via ARI.
Description

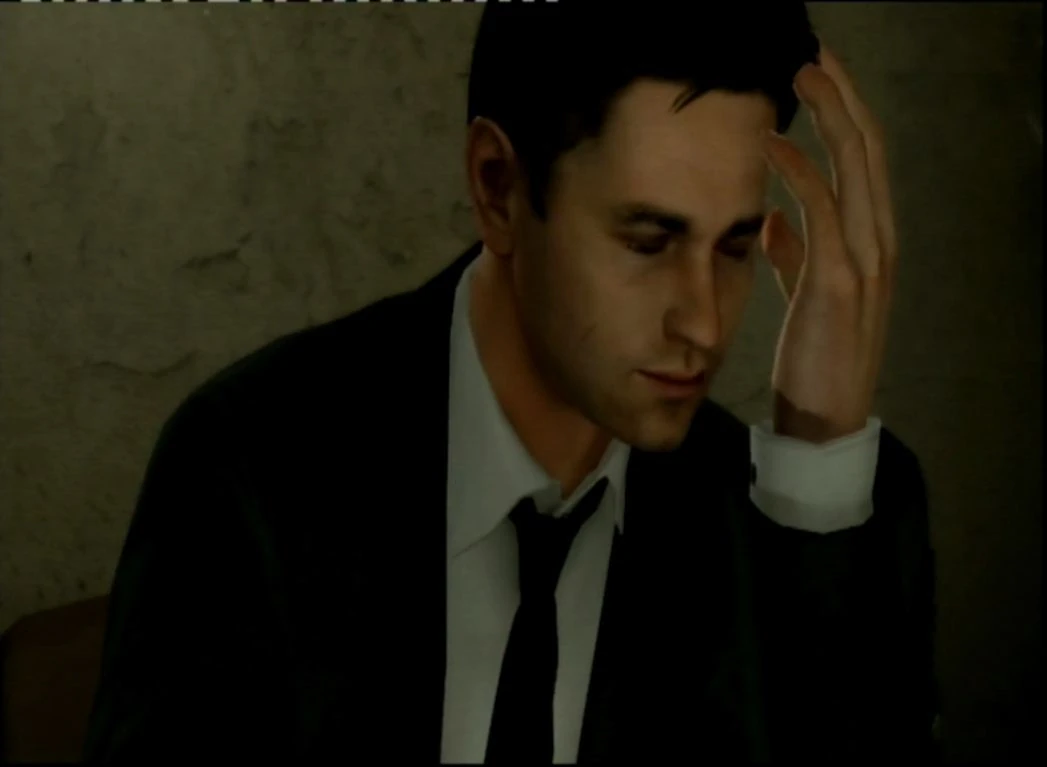
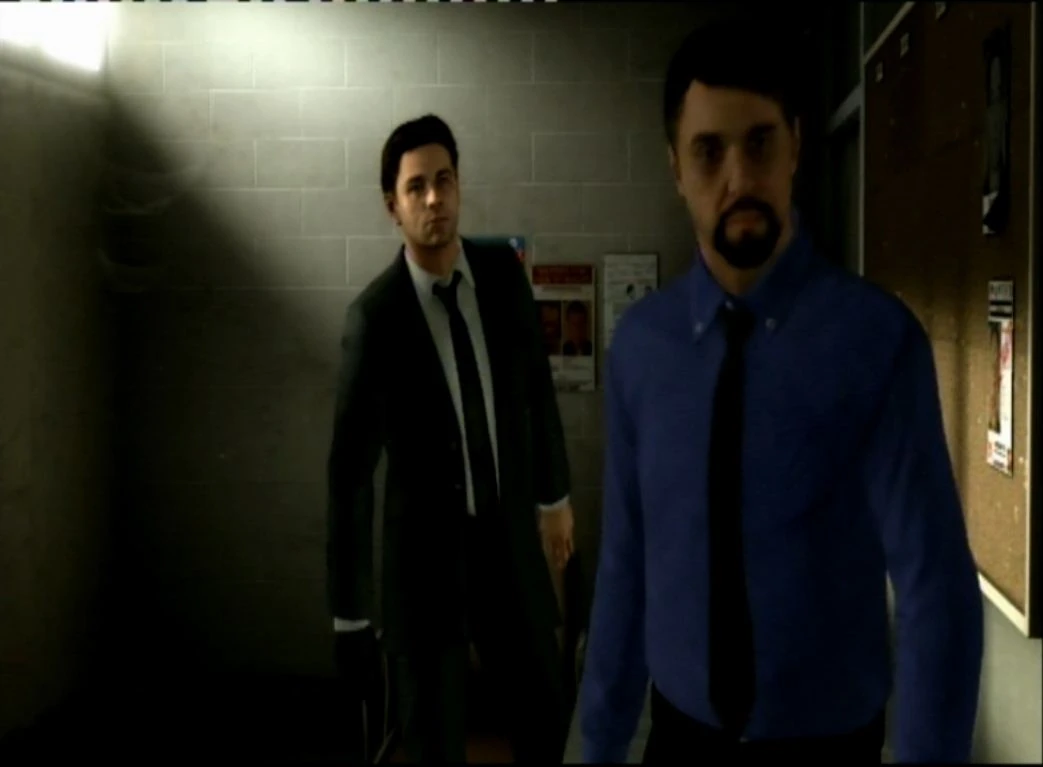
This chapter begins with Norman Jayden frustrated that he cannot find the identity of the Origami Killer despite the clues he has gathered and furious with the incompetence and politicking of the local department. He knows Shaun Mars only has hours to live and Ethan is innocent. Carter Blake comes into his "office" and tells Jayden it's over, he can go back to Washington, they're confident Ethan is the killer and Jayden is off the investigation. Jayden tells Blake that it isn't over and he has no evidence of Ethan Mars' guilt. Blake dismissively insists that Ethan is guilty, case closed, and it's no longer Jayden's concern. Blake tells him to "pack up and fuck off." Jayden is disgusted by Blake and shouts that he is an "unbalanced, psychopathic asshole," which Blake accepts as a compliment. He tells Jayden to have a nice trip back to Washington as he leaves. Jayden takes a dose of Triptocaine and returns to ARI to look over the available evidence.
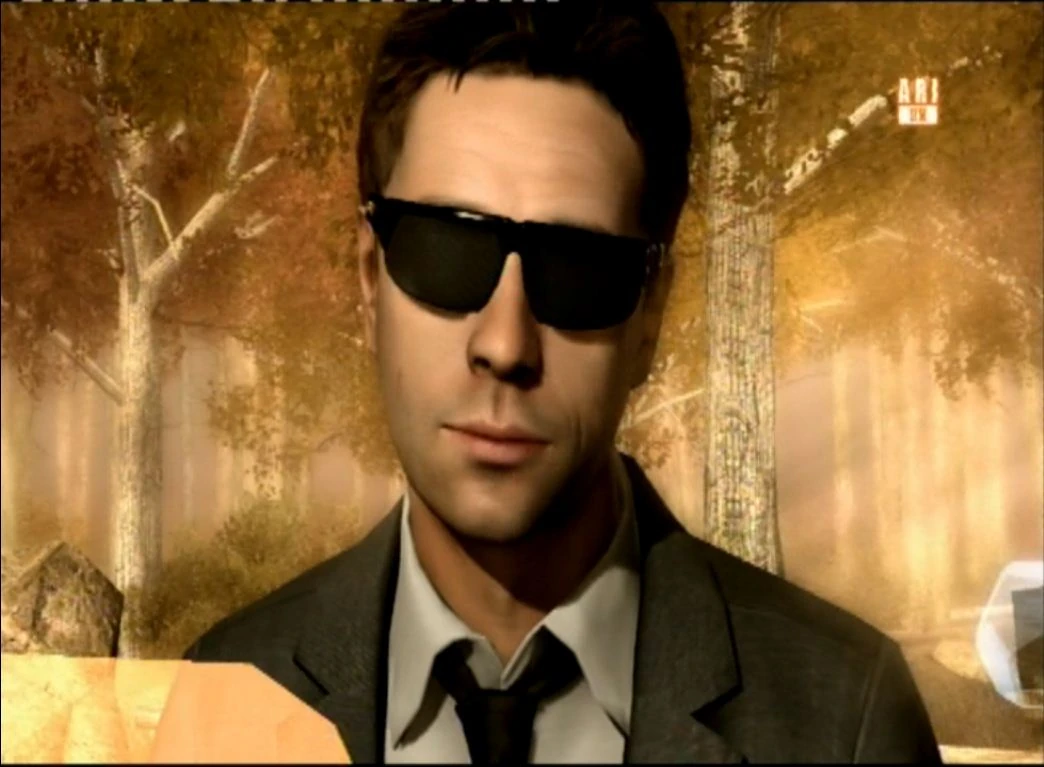
In ARI, the waiter warns him again to not overindulge in "you-know-what," which he says can be very dangerous and may kill Jayden. From this point on, Jayden can give up or continue. He examines the clues he retrieved during "Fish Tank" and learns that the killer's gun was stolen from police lockup and the killer is or was a police lieutenant. He quickly suspects Blake as the killer because of his obsession with Ethan as the killer. Norman can choose to accuse Blake or continue looking through the evidence.
If Jayden keeps looking he will narrow the suspect list down to a retired police lieutenant who owns a warehouse -- where Shaun must be. Wasting no time, Jayden hurries out of the station, with Blake noticing this.
If Jayden pauses the ARI footage the moments the killer's watch is visible, and analyses a still frame of the killer's watch, he will recognize the watch as the same one that is given to police lieutenants for promotions as seen earlier in the game. Noticing this clue will determine whether Jayden is given the choice of backing off of Blake should he decide to accuse him. If he does not find this clue before he accuses him, he will not be given this option. Whether Jayden chooses not to back off or whether he doesn't notice this clue before accusing him; both scenarios result in Jayden holding a gun at Blake in front of the whole station and attempting to arrest him, which in turn leads to Captain Perry removing Jayden from the case and sending him packing, telling him his superiors will hear about his behavior. If Norman does back off he will continue his investigation. The watch clue does not have to be found in order for Jayden to narrow the suspects down and head to the warehouse.
If Ethan was arrested in "Under Arrest" and Norman released him without turning off the video camera, the opening of this chapter will change. Blake barges into Norman's office, scolding him for letting Ethan go and mocking him for forgetting about the camera in the interrogation room. Norman tells him that Ethan is innocent and he is not the killer; Blake dismisses this and tells him he's suspended since the order's on its way, and he had him pegged from day one. He tells Norman that he'll have all the time in the world to "use his glasses in prison" and that he'll have fun before storming out.
List of critical clues
- Car info from the wasteland (Found at the first crime scene.)
- Car info (All found in Mad Jack's garage.)
- Gas Station Receipts (In Blue Lagoon, you must tear off the Origami Killer's pocket when he leaves.)
- 45 Caliber Pistol (Blue Lagoon, the murder weapon used to kill Paco. Optional though, as the video can be used instead of this.)
All you really need is either the pistol, or the watch in the video. Believe it or not, the gas receipts are a must - if you don't have these then you can't solve the case.
Walkthrough
2 seconds before "Blake, you are an unbalanced, psychopathic asshole!"
- Open the clues section.
- First, Geo-analyse the two Gas Station Receipts and the circle where the killer lives.
- Second, analyse the 45 Caliber gun and you will find out that it was used by cops.
- Or analyse the video record of the fight with the Origami Killer in the Blue Lagoon and stop at the moment the watch is visible and then analyse it. You will find out that the golden watch is awarded to cops that are promoted to lieutenants, giving you another proof that the killer is a cop.
- Last, Geo-analyse the new clue "Killer is or was a cop?" and you will find that there is only one cop that lives in the Geo-analyse area and that the cop owns a warehouse. Jayden then leaves to the warehouse.

Endings: this...


...or this.
Taking Too Long
If Norman takes too long solving the puzzle, he will die due to too much exposure to ARI or the Triptocaine, which the waiter warned him about. After 6 minutes, the ARI simulated environment will start to turn red and frightening, and Norman's right eye will bleed. After 2 more minutes (8 total), lightning will flash in the now harsh environment, and Norman's left eye will bleed. (It may appear to the player Norman's left eye is bleeding at first, but in reality, it's his right.) After 10 minutes total, Norman's nose will bleed and he'll die. Of course, you can always close the ARI and give up on the puzzle if you want to. Doing so can lead to the endings "Resignation" or "Smoking Mirror" depending on whether Shaun is saved or dies. If Norman gives up and Madison Paige survived "The Doc" and "Killer's Place," she can call Norman and tell him where Shaun is being held.
Impact
- Failure to find the warehouse: Norman will always get the "Smoking Mirror" or "Resignation" ending.
- Finds the warehouse: Norman will always get the "Uploaded" or "Case Closed" ending.
- Killed: Norman will always get the "Uploaded" ending.
Trivia
- This is one of four chapters where Norman can die. (The others are "Mad Jack," "Fish Tank," and "The Old Warehouse.") This is the only time Norman's death is not caused by another person.
- This chapter will be skipped if Norman is killed in "Mad Jack" or "Fish Tank".
- This is one of the few chapters where the opening can be changed. (The others are "Covered Market," "Police News," "Fish Tank," and "On the Loose.")
- If Norman spends enough time in ARI to make his skin turn pale and blood run down his eyes and then chooses to give up, the blood is mysteriously gone. It is possible that the blood was just a hallucination from the ARI.
Trophy
- Nerd: Find all clues at the train tracks, Mad Jack's scrapyard, the Blue Lagoon and find the Origami Killer.
CHAPTERS
|
|---|
All chapters are listed in chronological order. Chapters Played as Ethan Chapters Played as Scott Chapters Played as Jayden Chapters Played as Madison Other Chapters |